Create an agent graph
Define a graph name and outcome, create the draft, and verify its required Start and End terminals.
Create a blank agent graph when you want to design an orchestration without inheriting a blueprint. You will name the graph, describe its outcome, and open a draft canvas that already contains the required Start and End terminals.
Before you begin
Sign in to Agent Studio and confirm that you can create skills. Start from Agent Canvas at /dashboard/canvas, or open /dashboard/canvas/new directly.
Prepare a short name and an outcome statement. The name must contain at least two characters, and Purpose must contain at least five characters. A useful purpose describes the result the graph should produce rather than listing node types.
Create the graph
On Agent Canvas, select NEW AGENT GRAPH. The NEW AGENT GRAPH form opens with empty Graph Name and Purpose fields.
The form states that the blank canvas is for agents, tools, routers, and gates. No graph is saved at this stage.
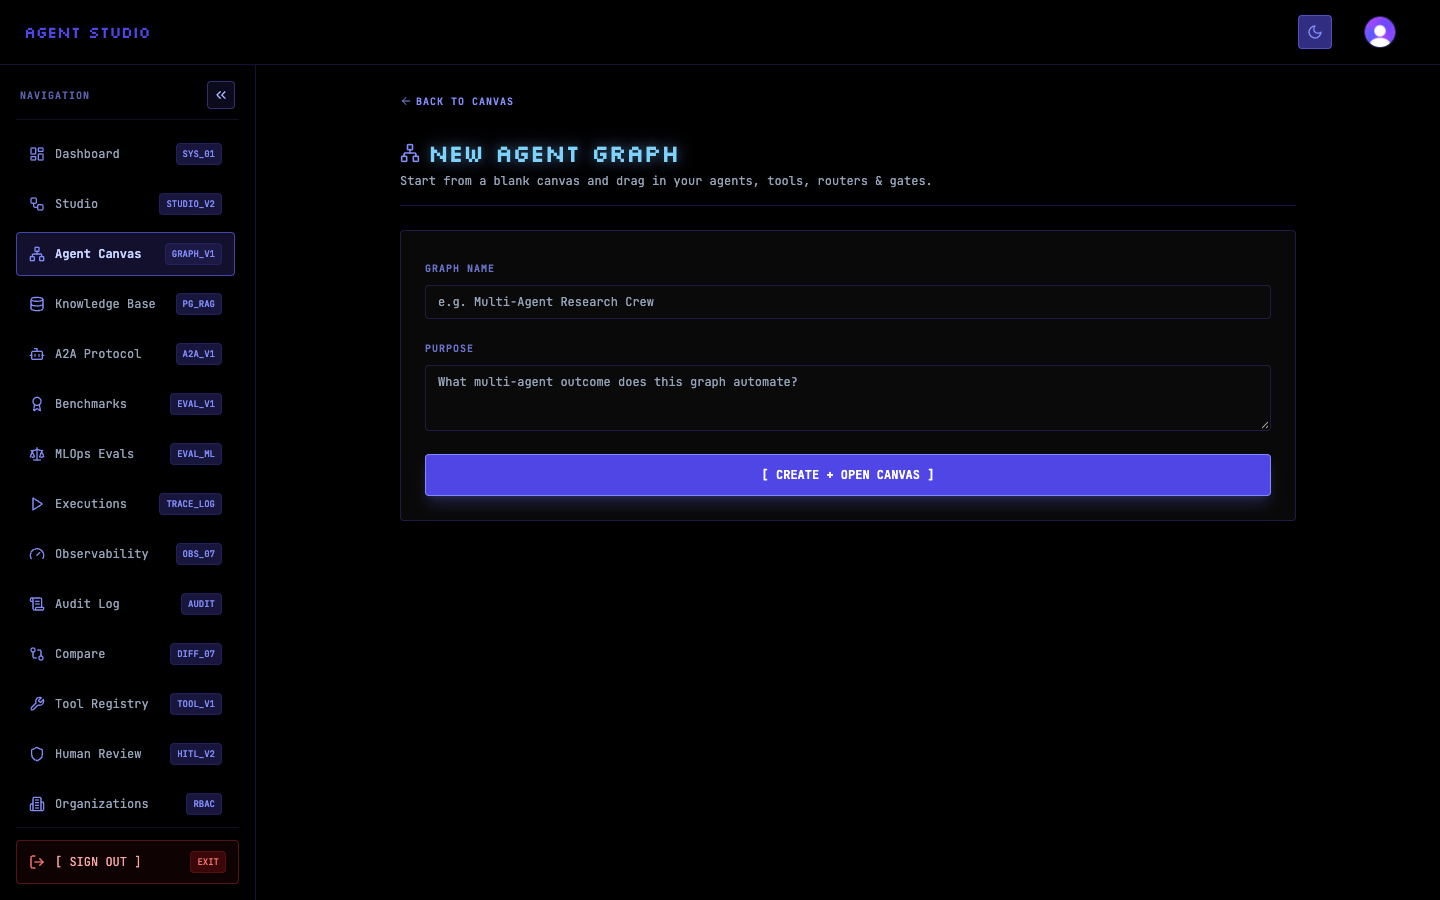
In Graph Name, enter a name that distinguishes this workflow from other graphs. For this example, enter Documentation Research Crew.
Use a stable workflow name rather than a run-specific ticket number or date. Agent Studio later displays this name in the canvas header and when listing the graph-backed skill.
In Purpose, enter the result that the agents should produce. For example:
Research a documentation topic, synthesize findings, and draft a reviewed guide.The form now contains enough metadata to submit. Review both values before continuing because submission creates a new skill record with the graph definition.
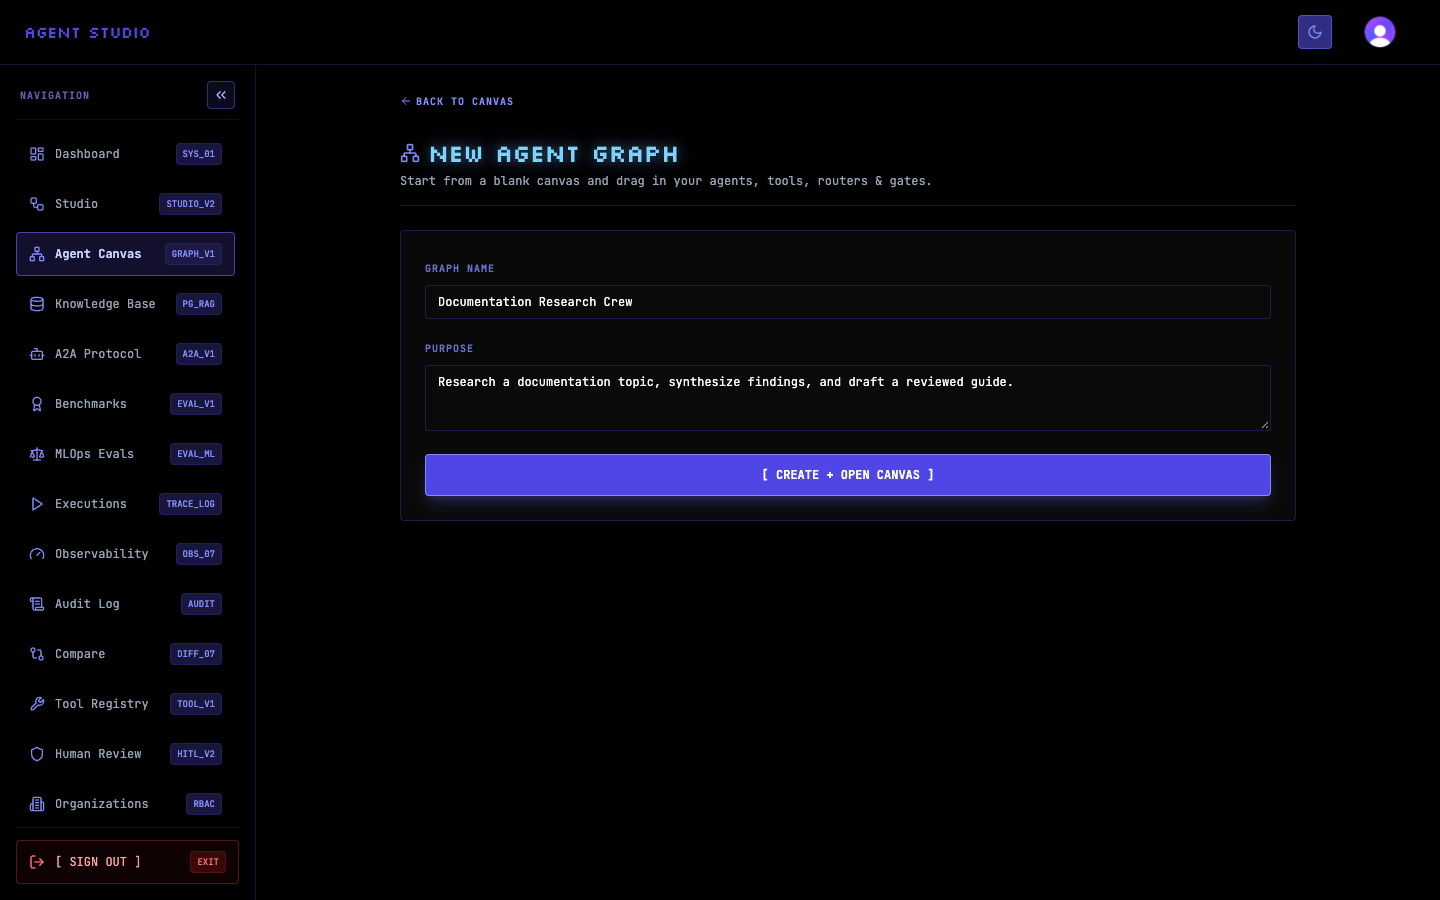
Select CREATE + OPEN CANVAS. While the request is running, the control reads CREATING GRAPH… and cannot be selected again.
After creation succeeds, Agent Studio reports Agent graph created and opens the graph's visual canvas. If validation fails, the form stays open and displays an ERROR message instead.
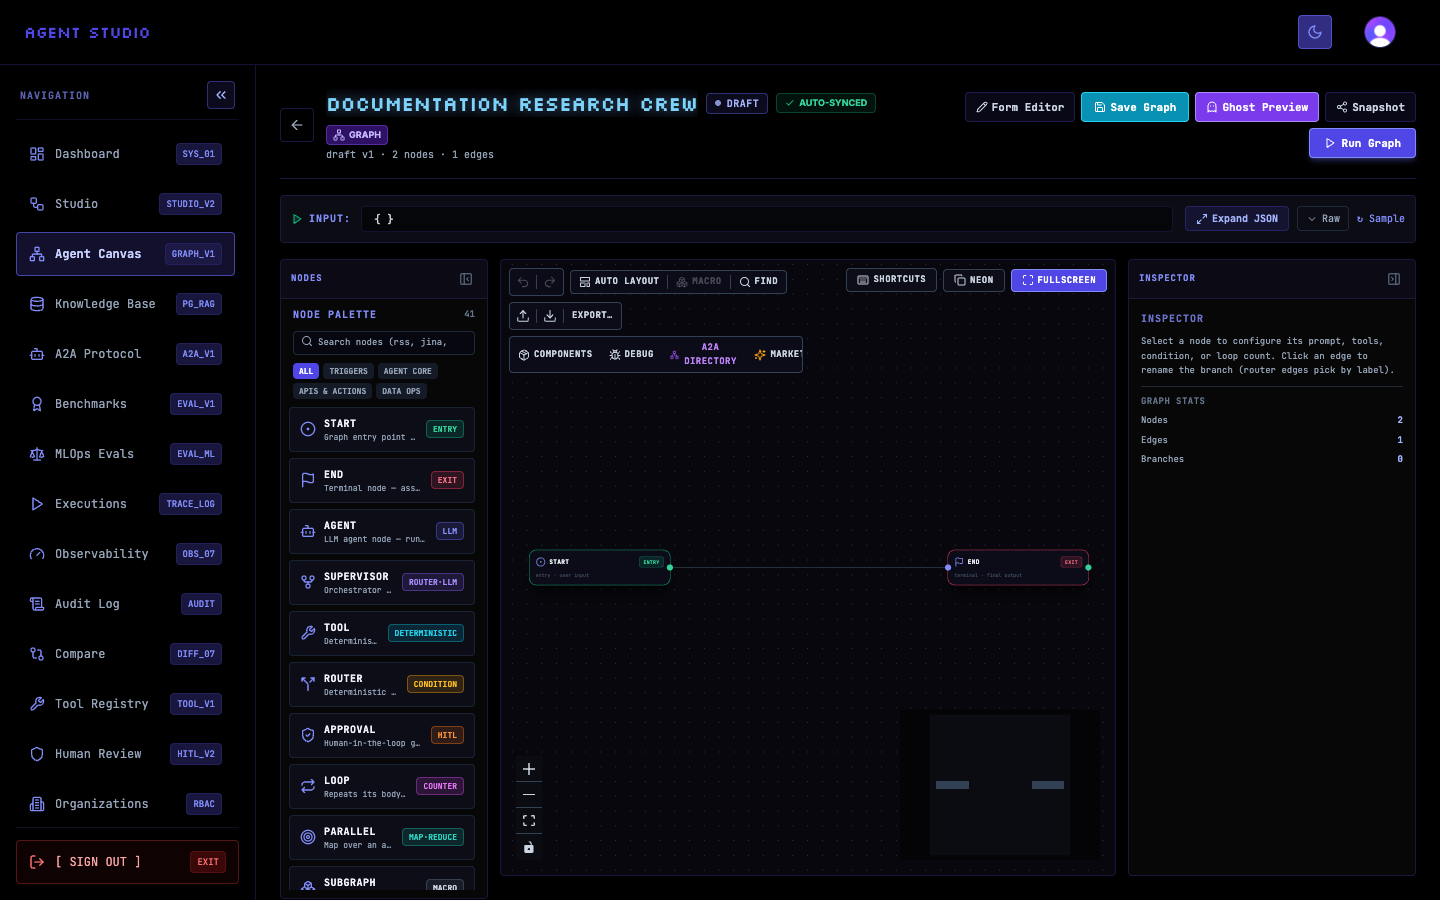
Confirm that the header shows your graph name and the DRAFT state. The blank graph begins with START and END terminals connected by one edge; the captured example reports 2 nodes · 1 edges.
Verify the graph
Agent Studio validates saved graph definitions as version 1. A valid graph contains at least one node, includes both terminal types, and uses edges whose source and target IDs belong to existing nodes. Preserve those conditions as you add and reconnect nodes.
Troubleshooting
Next steps
Use the Graph nodes and validation reference to add supported nodes, then Preview and debug the graph with synthetic input before connecting production data.